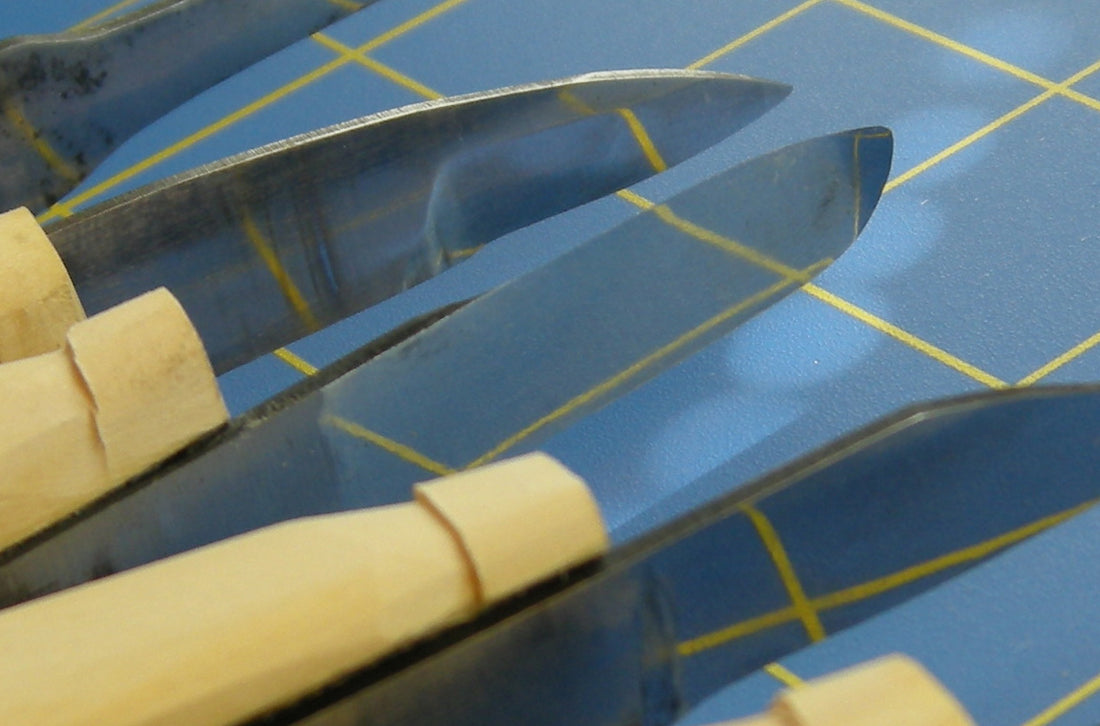
How to sharpen a wood carving knife
This post will answer how to sharpen a knife. In particular I will detail sharpening a curved wood carving knife, such as the single bevel double edged bent knives that northwest native American carvers use as these are most difficult to sharpen and require special curved sharpening tools, but the techniques described here will work equally well on all knives, such as double bevel straight knives and kitchen knives.
Introduction
Sharpening a knife is something that must be done carefully. Not only is there the risk of accidentally cutting yourself, if not done correctly you can do damage to the knife and sharpening tool. Wood carving knives need to be extremely sharp to cut properly and not cause wood fibers to tear out of the wood.
I recommend for that reason that you first practice on knives you don't mind damaging. If you don't want to take the risk of damaging your best knives you can always send your knives off for professional sharpening. Even if you do sharpen your own knives I recommend sending them off for professional sharpening occasionally to get the bevels ground flat again as its very easy to round over the bevel, making your knives progressively duller until fixed.
Tools to use
First let's go over what tools to use. I personally prefer sandpaper, diamond laps and polishing compounds. But lots of people swear by sharpening stones as well.
Sandpaper works well for doing initial flattening of rounded bevels and removing metal to fix nicks and broken tips. Sandpaper can be taped to dowels or boards with rounded ends to sharpen both curved and straight carving knives. When using sandpaper only sharpen away from the edge or the blade will cut into the sandpaper and wreck it. If you are doing sharpening professional, a variable speed belt sander, ideally with water cooling can make sharpening a breeze.
Diamond electroplated laps are hard and come on a wide range of grits. They cost more but last a very long time and generally don't get gouges worn in them. You can sharpen the knife in either direction on a diamond lap as the knife edge can't dig into the diamond surface. Diamond laps with holes or gaps in them are not recommended for wood carving knives as the tip can get stuck in the gaps when sharpening it. The style with holes are good for large blades as they apply more pressure per square inch and provide space for ground off metal to go. They generally only come in flat so are more for flat blades and are less useful for curved blades.
Polishing compounds such as green aka chrome oxide (fine, about equivalent to 2000 grit) and black aka emery (Course, about equivalent to 800 grit) are wax based and are very good for final sharpening. Diamond based polishing compounds can be had cheaply in assortments of 0.5 to 40 micron. Note that microns work in the opposite direction of grit, and 0.5 micron is equivalent to 60,000 grit while 40 micron is about 400 grit.
Polishing compounds can be applied to almost any material softer then the knife you wish to polish as long as it is clean. Some of my favorites are wooden dowels and poster board. Care must be used to only sharpen away from the edge or the blade will cut into the base material. As the compound gets embedded into the material used as a lap, you must have a lap for each grit of compound you use and avoid cross contamination between them. I highly recommend you try polishing compounds as a method of knife sharpening as it is very cheap to get in to and well suited for any blade type. A typical block of green polishing compound will last for years sharpening knives daily.
Leather strops are soft and as such care must be taken to avoid rounding over the edge. it will still sharpen if you hold the knife at the wrong angle but this will round over the bevel/cutting edge in time leading to a duller edge. Leather strops are good for working a wire edge off as the final stage of sharpening after sharpening with lower grits, but for day to day sharpening I recommend using wood or poster board laps to avoid rounding over the cutting edge as easily. If you do use a leather strop for day to day sharpening, don't use excessive pressure and take extra care to hold the knife at the correct angle. Leather is also somewhat expensive, but it does tend to self heal from minor cuts.
Oil and water stones require care to remain flat and generally need water or oil added to prevent clogging up, increasing mess and setup/cleanup time and deceasing how often you sharpen your tools. You need a number of them to cover your range of grits needed and the price adds up fast! For curved wood carving knives you also need a number of rounded stones (aka slip stones). For these reasons I don't use them myself but many people swear by them.
Techniques, tips and tricks
Now for the sharpening, I recommend using a Sharpie brand marker and painting the bevel. Many other brands don't work on well metal, Sharpie is the best brand of marker I have found for this task.
A painted bevel let's you monitor your progress, bevel flatness and knife angle by looking at where the ink is worn off. Repaint the blade frequently to see if you are holding it at the right angle. When you can take off all the sharpie marker from the top to the bottom of the bevel without changing the angle of the knife, the bevel is flat.
You do not need a perfectly flat bevel, but trying your best to keep it flat will keep you from increasing the angle of the cutting edge by rolling over the end. a knife is not sharp till you have removed the sharpie marks from the cutting edge of the blade with each grit you use.
One should resist the temptation to simply angle the blade and sharpen just the very edge of the blade as every time you do this you will round over the cutting edge making the blade effectively duller due to the wider bevel angle.
Its best to place the blade on the hone/lap/etc, get the angle right, then move it across the surface, stop moving before you reach the end and lift it from the surface. Doing other wise is likely to cause you to round the bevel over.

For northwest coast style double bevel curved blades, use a dowel with sandpaper taped/glued on or with lapping compound applied to sharpen the inside curve of the blade. The dowel must be smaller then the smallest radius on the knife so I recommend having a selection of different sized dowels as you should also use the largest dowel you can on a knife. Use sandpaper, diamond plates or lapping compound on a flat surface to sharpen the outside of the curve.
I recommend around 5 strokes between checking the blade and repainting it with sharpie while you are learning to sharpen. Eventually you will only need to repaint it when you change grits. Alternate top and bottom sides of the knife often to help prevent a burr from forming or to remove an existing burr.
With sandpapers and soft lapping materials you will needs to stroke away from the cutting edge while diamond sharpeners and stones can be used in either direction.
The most important part of sharpening is to maintain the same angle consistently. Consider placing your finger behind the blade to press the bevel into the sharpener but be careful not to cut yourself if you do.
Grit selection and progression
For keeping a blade sharp, generally something like a 1000 or 2000 grit diamond plate or sandpaper, green polishing compound or 10 micron diamond paste works very well while leaving a good finish and may only need a few strokes to resharpen the knife.
If a blade has been dulled or was not very sharp initially, you may want to start off with a 600 to 800grit diamond plate or sand paper, black polishing compound or 25 micron diamond paste.
If you have to reshape the blade and remove significant amounts of metal, it is recommended you start with something like a 200 to 400 grit diamond plate, sandpaper or 40 micron diamond paste.
You should also not skip grits or it will take longer to remove all the scratches. that it not to say you should buy every grit available but decide upon a decent progression.
For more information on what grit to use and how microns relate to grit, check out our guide on what abrasive grit to use